Connect Your Clock
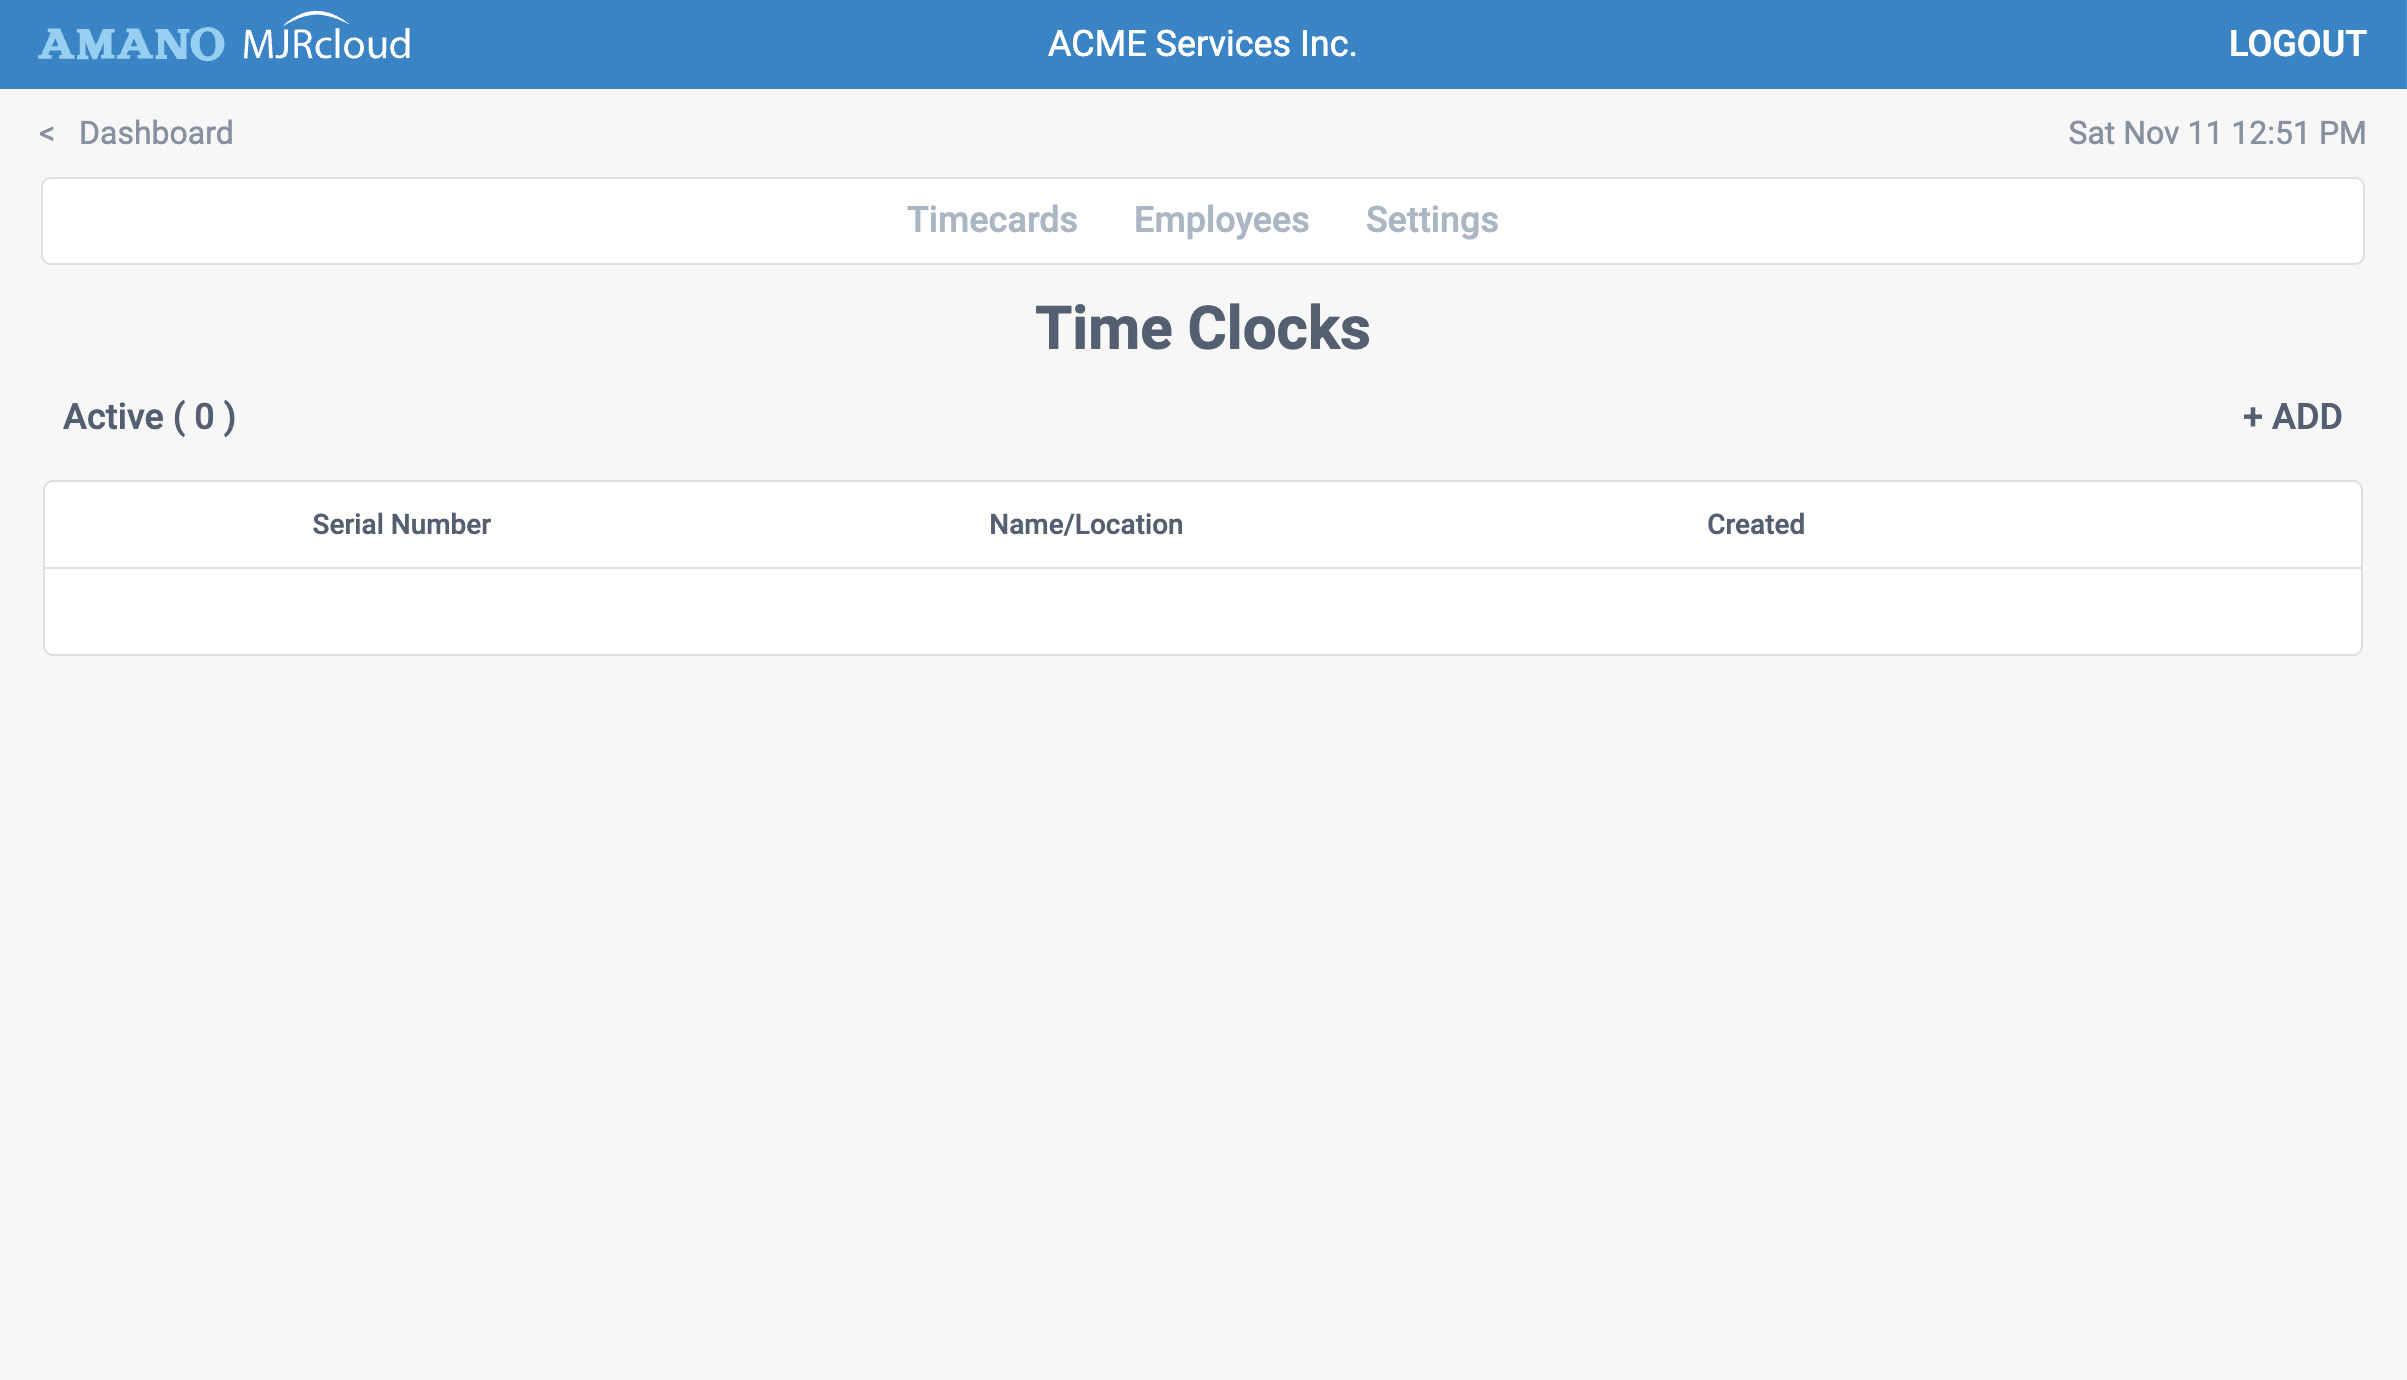
Step 1: Go to Time Clocks
The first step is to enter your clock into your account. Use the path above to view your time clock list. In this example, there are no time clocks entered yet.
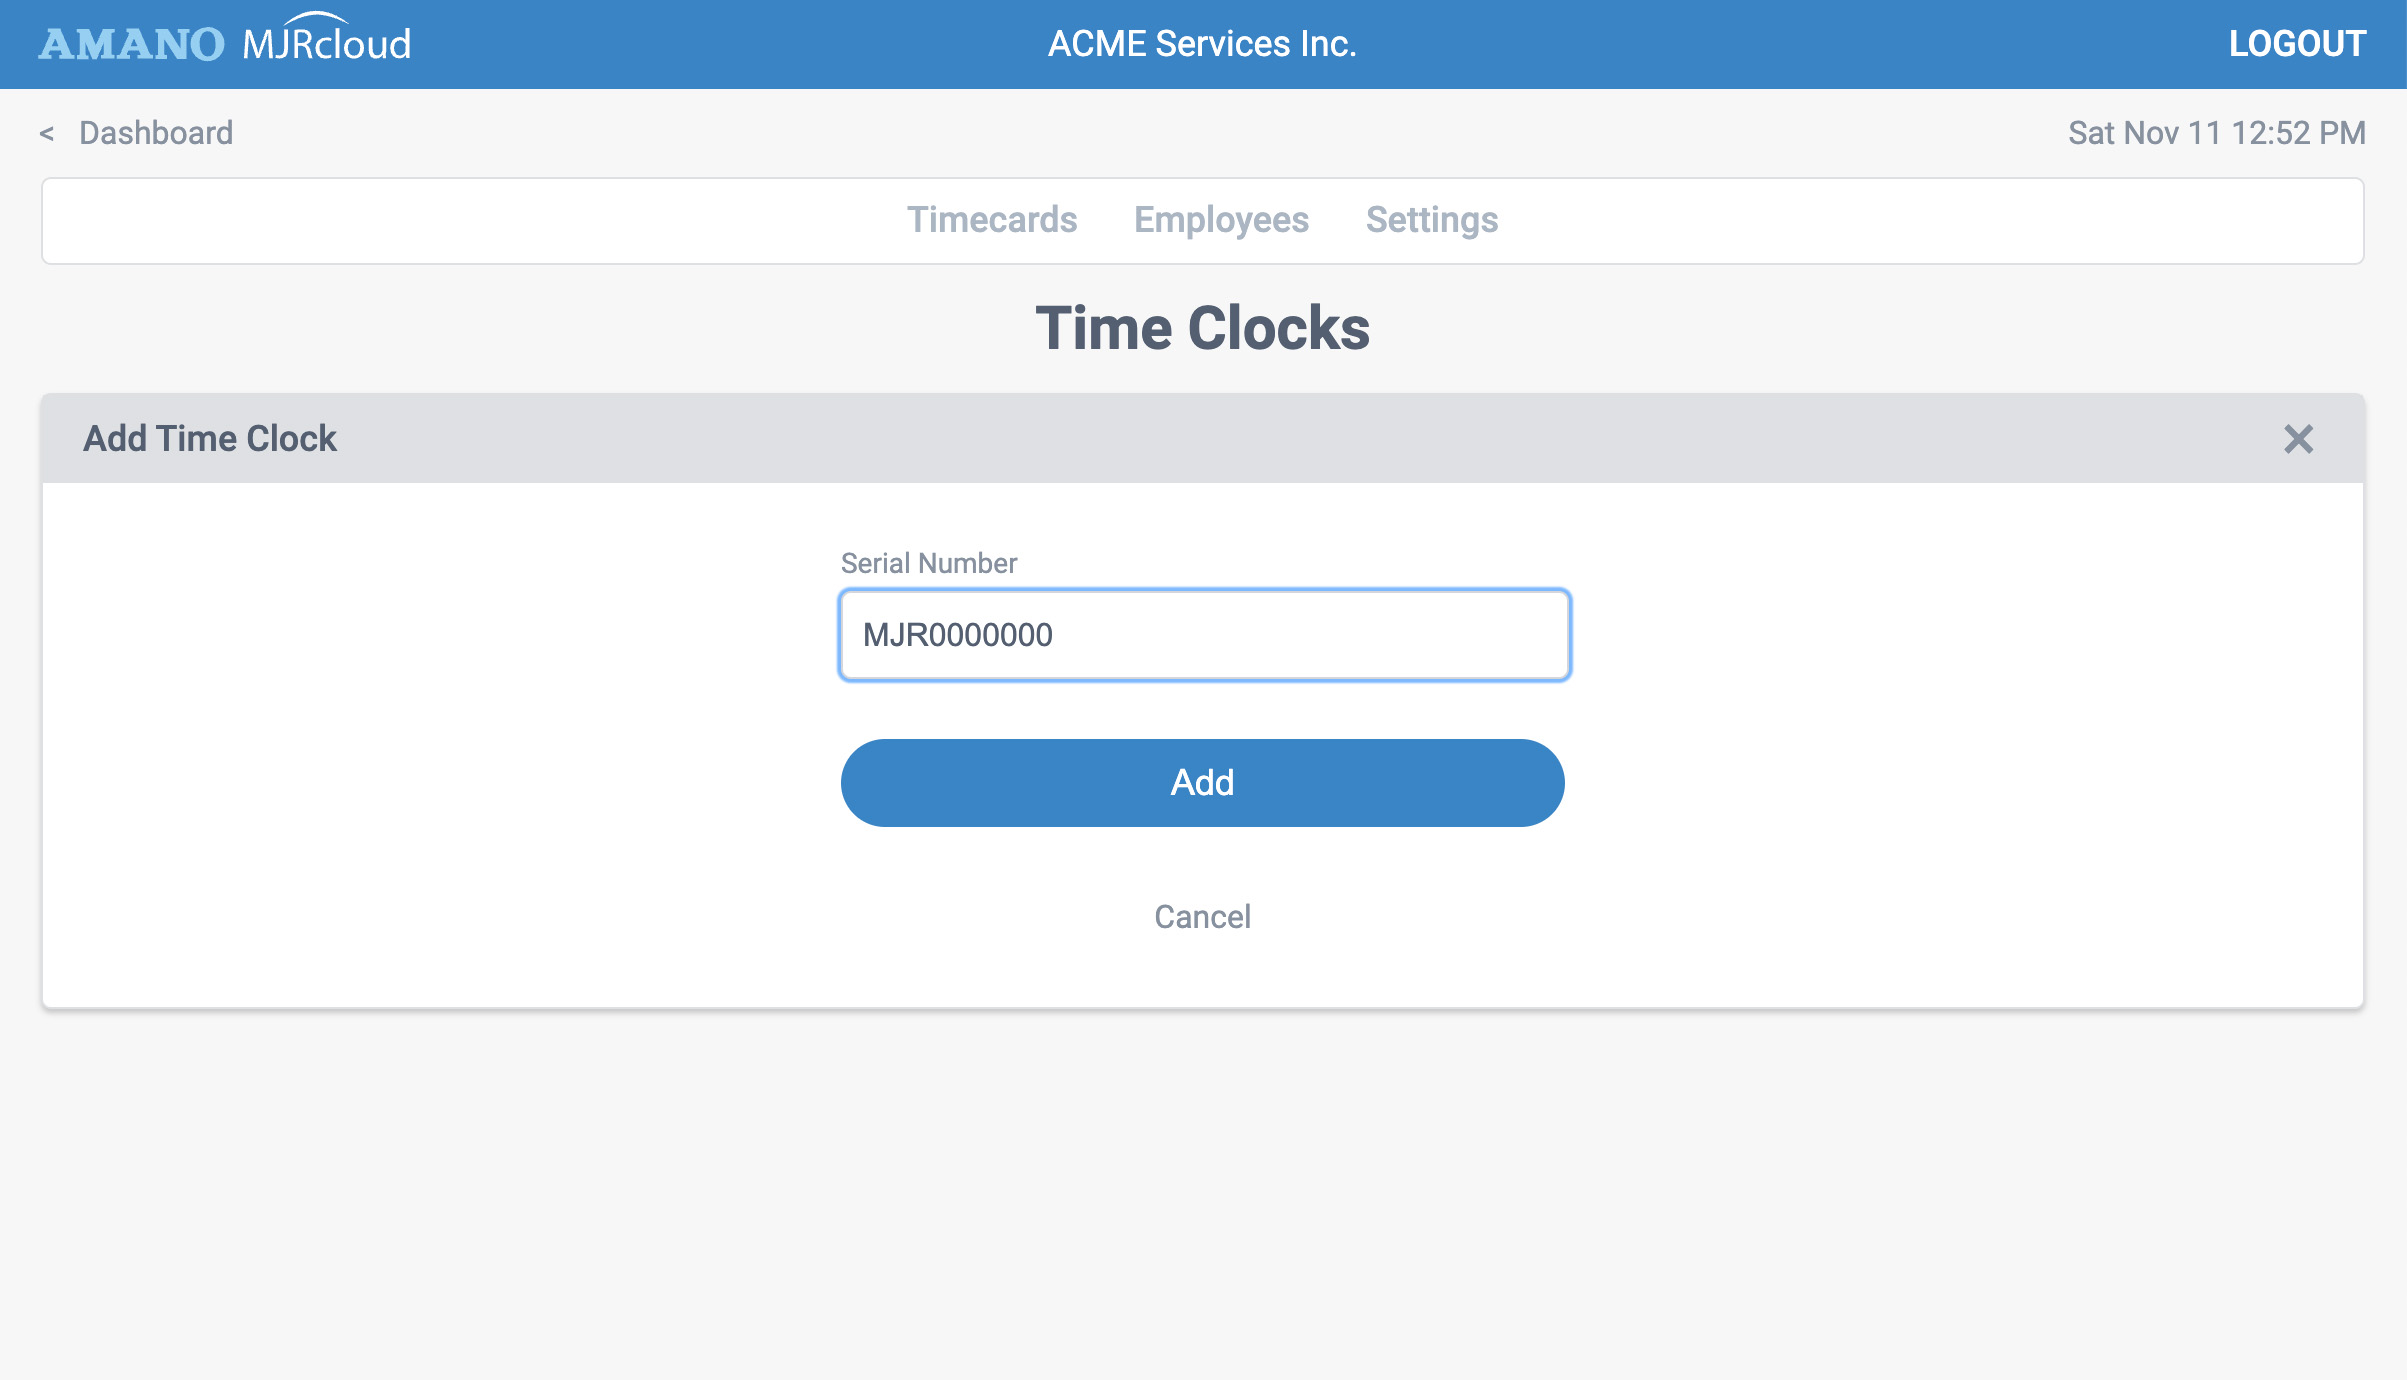
Step 2: Add your time clock
To add a time clock to your list click the + Add button and enter the serial number of your clock. The serial number can be found on a white, printed label on your clock. You can enter up to three MJR-PLUS serial numbers in your free MJRcloud account.
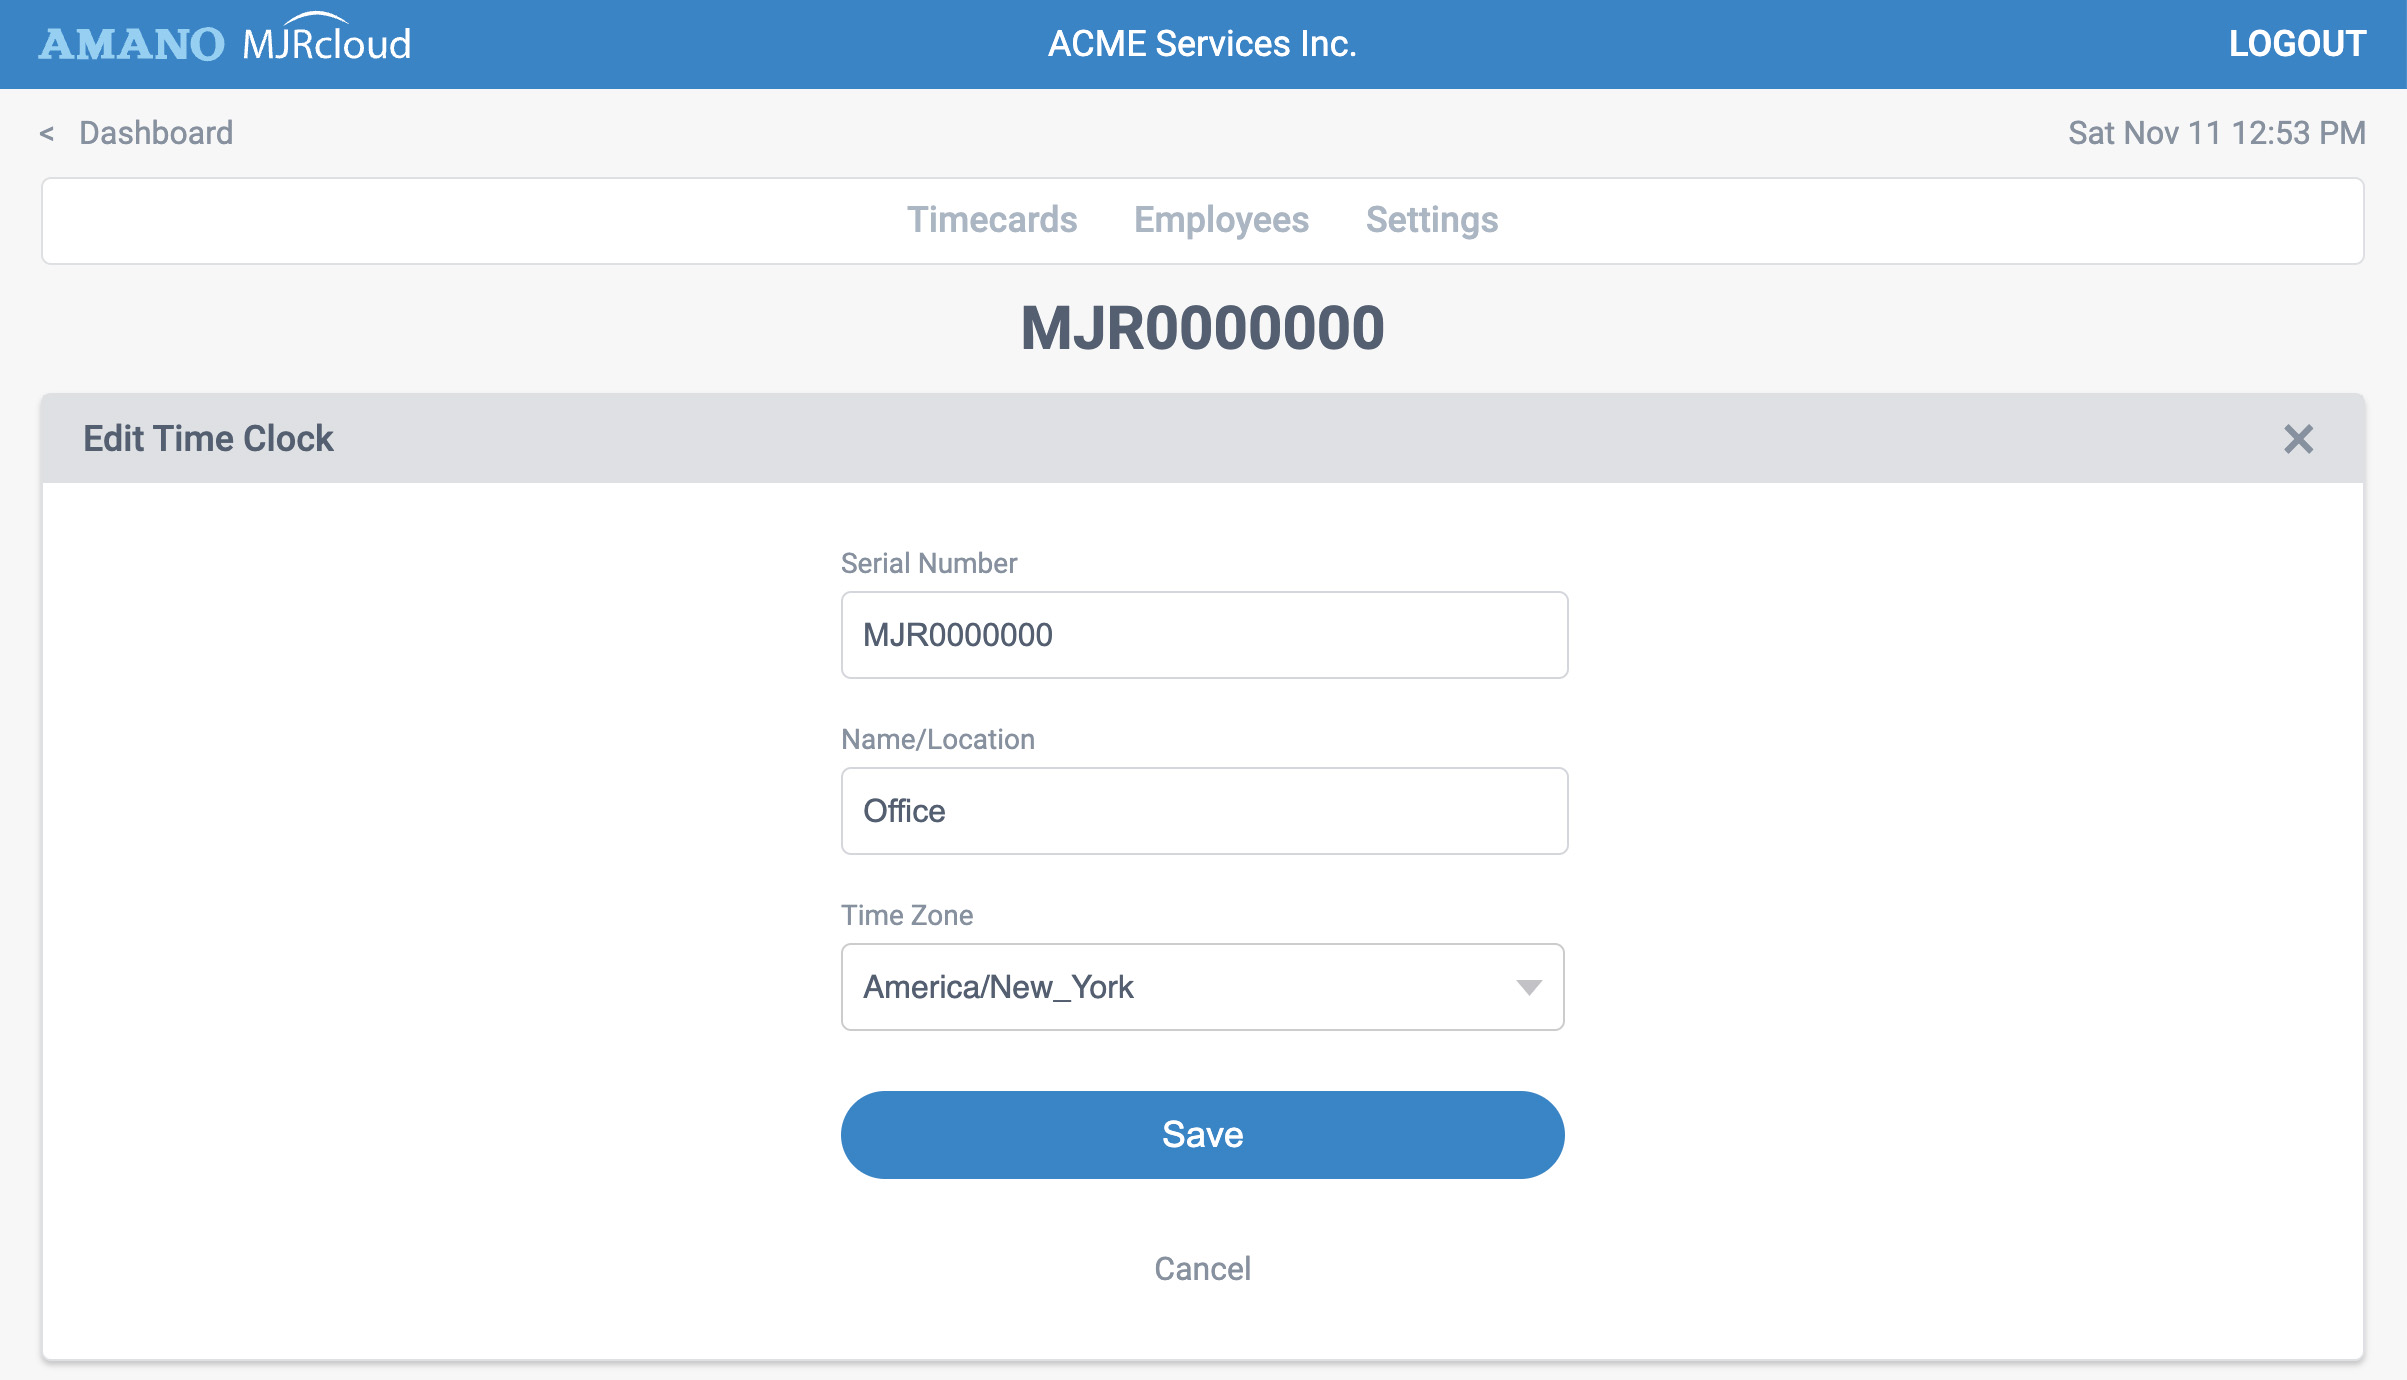
Step 3: Edit your clock info
Once you click the Add button, your default clock info will display. Now enter the where the time clock is located. When finished, click Save
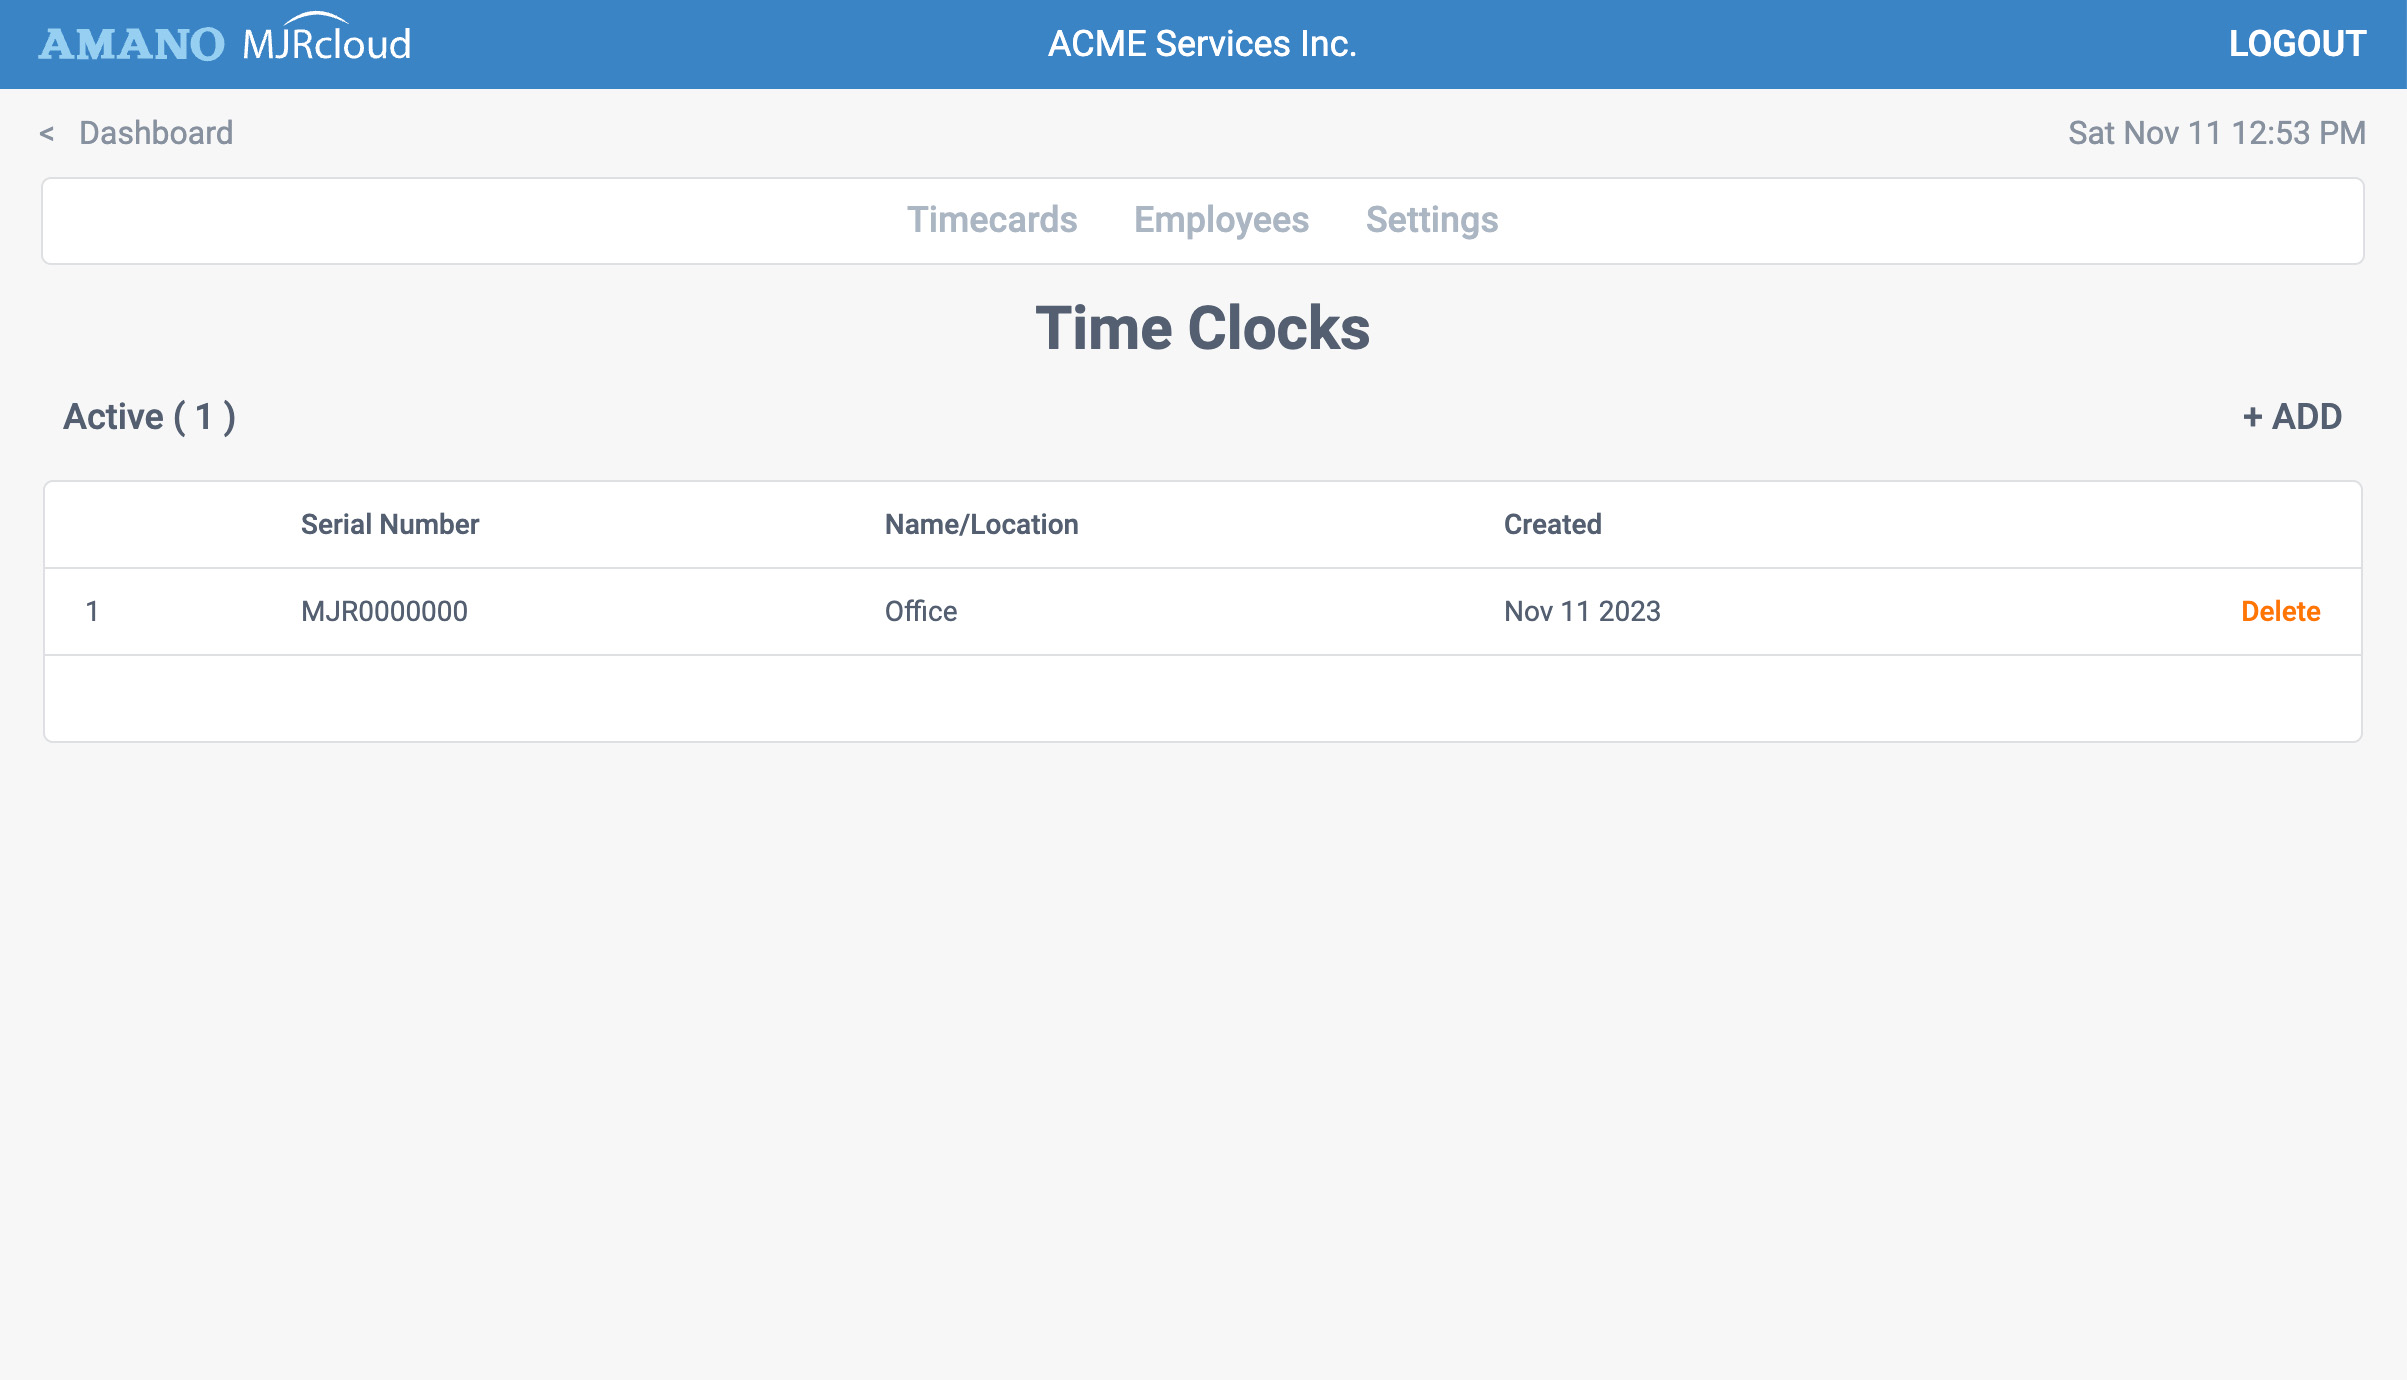
Once you click the Save button and click the Done link, you should see your time clock on your list. You serial number is now connected.
Step 4: Connect power and set WiFi
Now that your clock's serial number is entered in your account, connect your MJR-PLUS to power. Once the clock boots up, please use our MJR-PLUS WiFi Quick Start Guide to help connect your WiFi.
If you have trouble connecting, please reach out to Amano Support at 1-800-896-7035 (option 3). We'll be happy to help.